Getting Started with Quizzes
The Quizzes menu is used for creating exams or questions in various formats. The CMU Canvas system supports a total of 12 question formats, which will be discussed later. Before creating quizzes, there are three main things you need to know.
Creating quiz details is divided into 5 subtopics:
Naming the quiz and providing quiz details
Setting the quiz type and assignment group
Components in question creation are divided into two parts
The first step is to go to the Quizzes menu, and a window will appear like illuastrating below.
Then, create a quiz by pressing the button 
1. Providing Quiz Details
Press the  button to add your quiz. The system will redirect you to the details section of the quiz. You will need to configure various settings as follows.
1.1 Naming the quiz and providing quiz details
1.2 Setting the Quiz Type and Assignment Group
There are 4 types of quizzes including:
- Practice Quiz
- Graded Quiz
- Grade Survey
- Ungraded Survey
Assignment Group
In this section will be divided into groups according to how you have previously divided them. Alternatively, you can choose to assign it to all students in the course.
1.3 Setting Options or Additional Options
In this section, there are 5 subtopics.
Shuffle Answers
Select this oprion to shuffle your answers.
You can limit the time for completing this quiz by selecting this option and specifying the time (minutes).
Allowed Multiple Attempts
The "Quiz Score to Keep" option allows you to choose which score to use for grading, either (1) the highest score achieved, (2) the average score from all attempts, or (3) the score from the latest attempt.
The "Allowed Attempts" menu enables multiple quiz attempts, and you can specify the number of attempts as well.
Let Students See Their Quiz Responses
In this section, you'll need to add feedback to each of your answers. You can choose when to display quiz responses.
1.4 Quiz Restrictions
Quiz restrictions are divided into 2 types:
Require an access code
Filter IP Addresses
1.5 Setting Due Date
You can specify which group of students to assign this quiz to. Also, you can set assignment deadlines and configure quiz availability settings.
You can define who can access the quiz you've created. For example, you can assign it to different groups you've divided or assign it to all students within the course.
You can set a due date by selecting a specific date and time.
You can specify the date and time when students can access and view the quiz details vis this option.
2. Components in Quiz Creation
You can create questions in the quiz by going to the "Questions" menu and creating a new question by pressing the "New Question" button.
You will enter the creating page. There will be important toolbar tabs as follows:
2.1 Question Section
Question Title: In this section, you can set a name for the question to help identify its topic. This title will not be visible on the displayed page (only accessible to the instructors or question creator).
Question Format: You can specify the type or format of the question, like Multiple Choice, True/False, Fill in the blank, Fill in Multiple Blanks, Multiple Answers, Multiple Dropdowns, Matching, Numerical Answer, Formula Question, Essay Question, File Upload, and Question Text (No Question), which will be discussed in the next section.
Question Score: You can assign a score to the question by editing the value in the space next to "pts:".
Question Content: You can enter the content of the question in the text box below. You can format the text by making it bold, highlighting, adding scientific or mathematical symbols, inserting images, or embedding media.
2.2 Answer Section (Choices)
In this section, the number of choices will vary depending on the type or format of the question selected earlier. You can add or remove answers as needed. Moreover, you can provide comments or explanations for each choice or provide the correct answer along with explanations by adding comments to each option.
You can change the correct answer for the question.
Once you are satisfied with the information in the question and answer sections, press the  button to save the item, and hit "Save" to save your quiz.
3. 12 Types of Questions
There are a total of 12 question formats as shown in the images (each format has its own method for creating questions).
After creating a question, you can click "Show Question Details" to view the details of that question and its options without having to preview it.
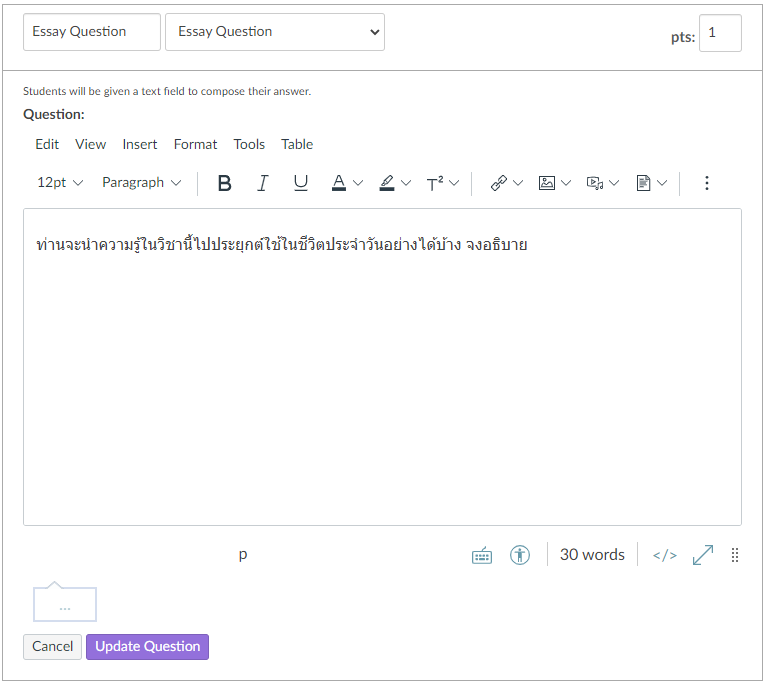
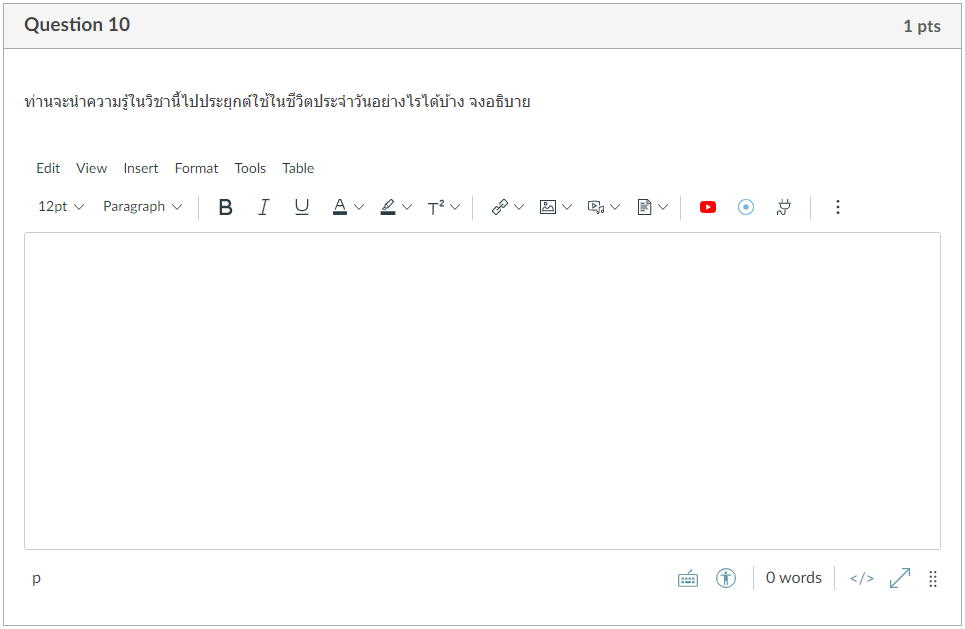
3.1 Essay Question
Creating an essay question involves asking a question to the students and providing a text box for an extended or longer answer.
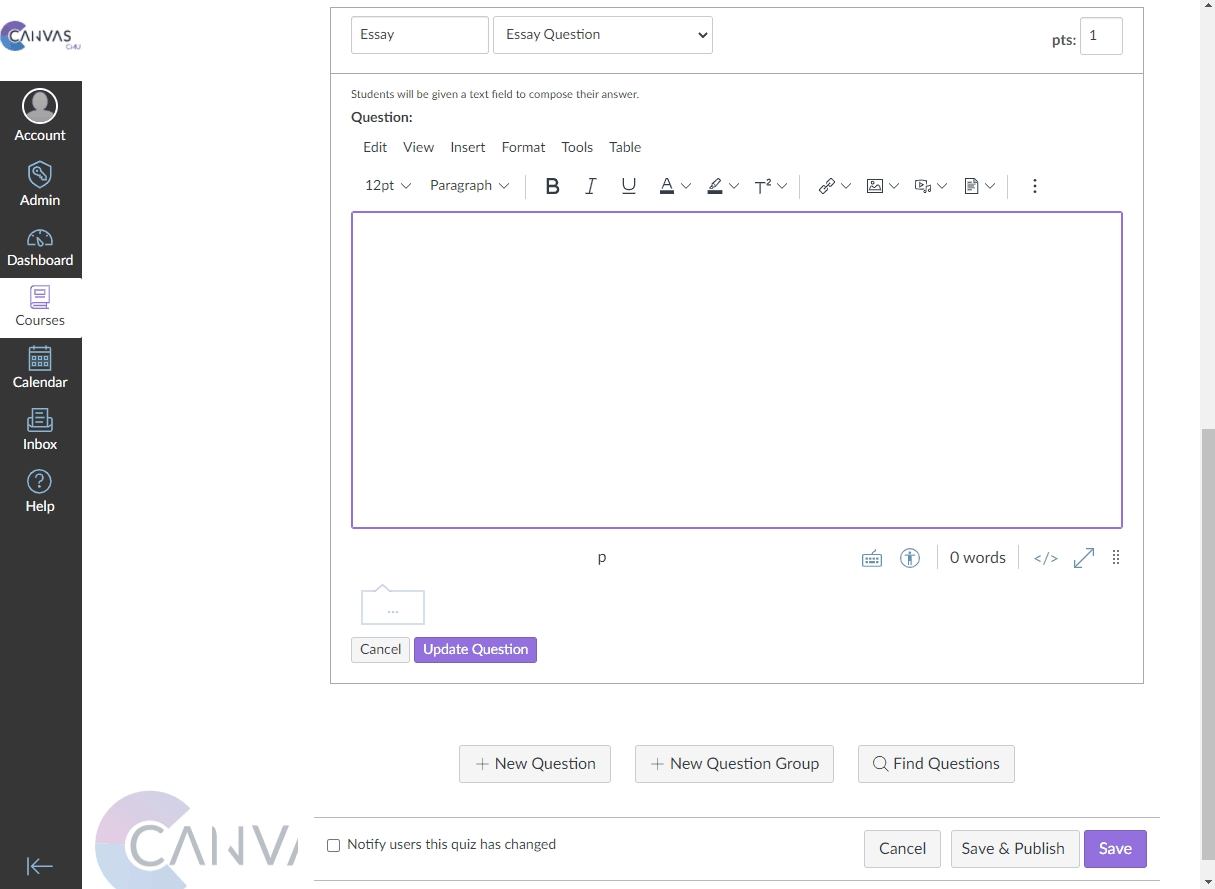
Creating an Essay Question
The display page after creating an essay question (student's view)
How to create a Quiz with an Essay Question (animated image)
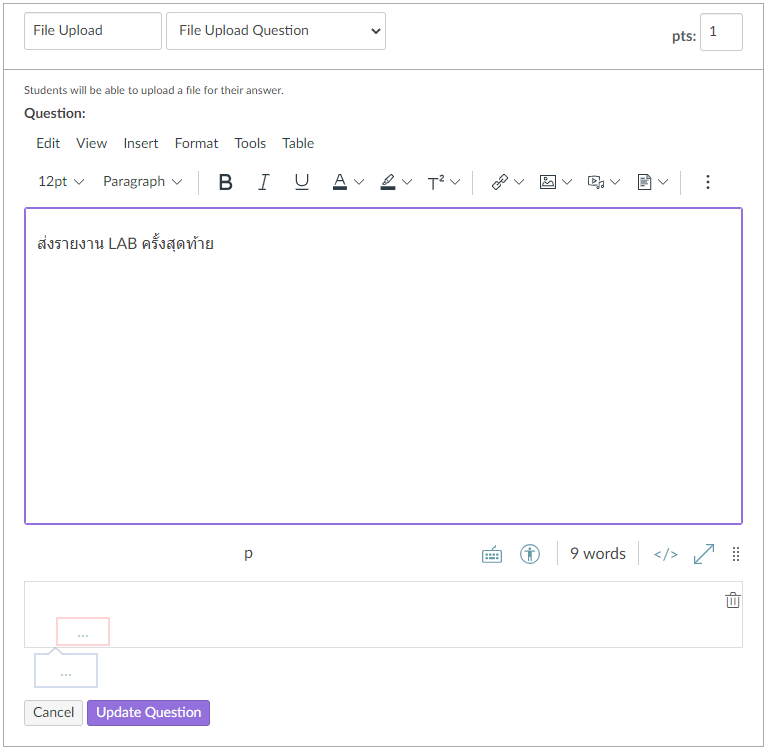
3.2 File Upload Question
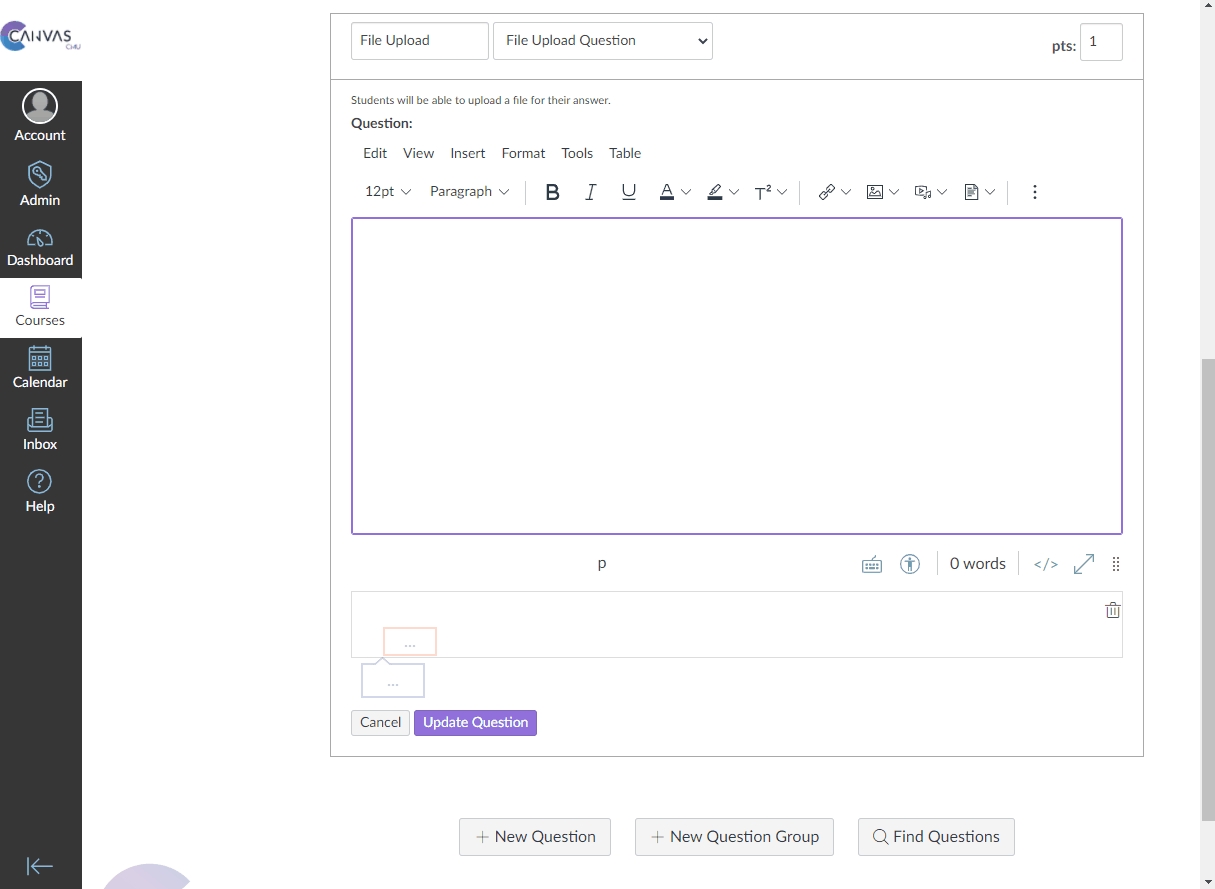
This option allows file uploading to CMU Canvas system using the "File Upload Question" format in Quizzes. It has limited settings, allowing you to configure only the question title and description, unlike the Assignment menu, where you can set additional options such as file type restrictions or submission attempts.
Creating File Upload Question
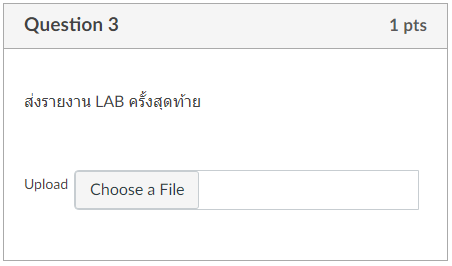
The display page after creating file upload question (student's view)
How to create a File Upload Question (animated image)
3.3 Fill In The Blank
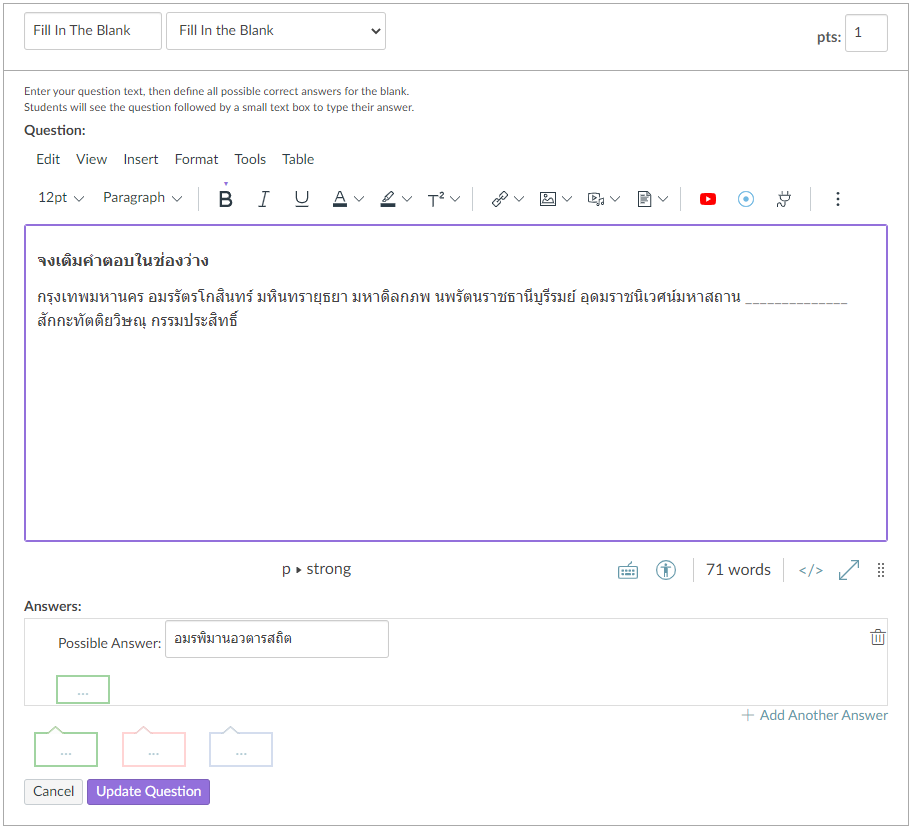
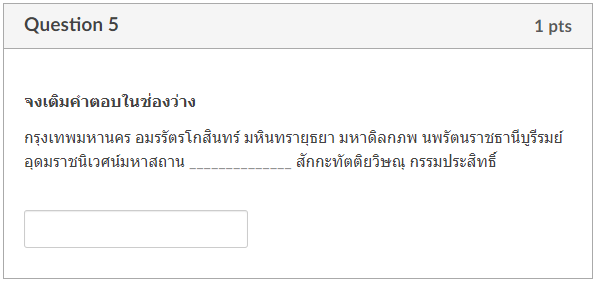
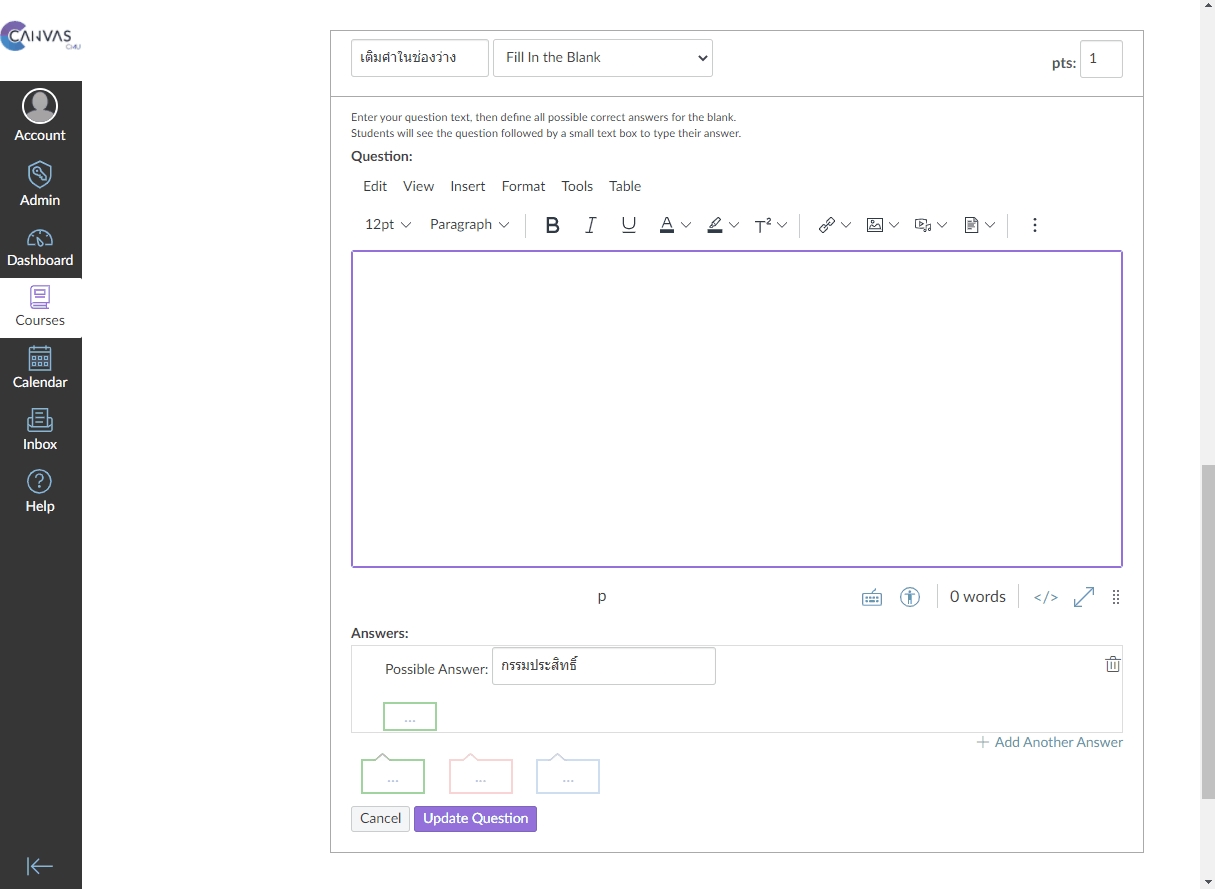
In "Fill In The Blank" format, you provide a question with a blank space, and the system displays a short text box at the end of the question for students to input their correct answer.
Creating Fill In The Blank
The display page after creating Fill In The Blank (student's view)
How to create Fill In The Blank (animated image)
3.4 Fill In Multiple Blanks
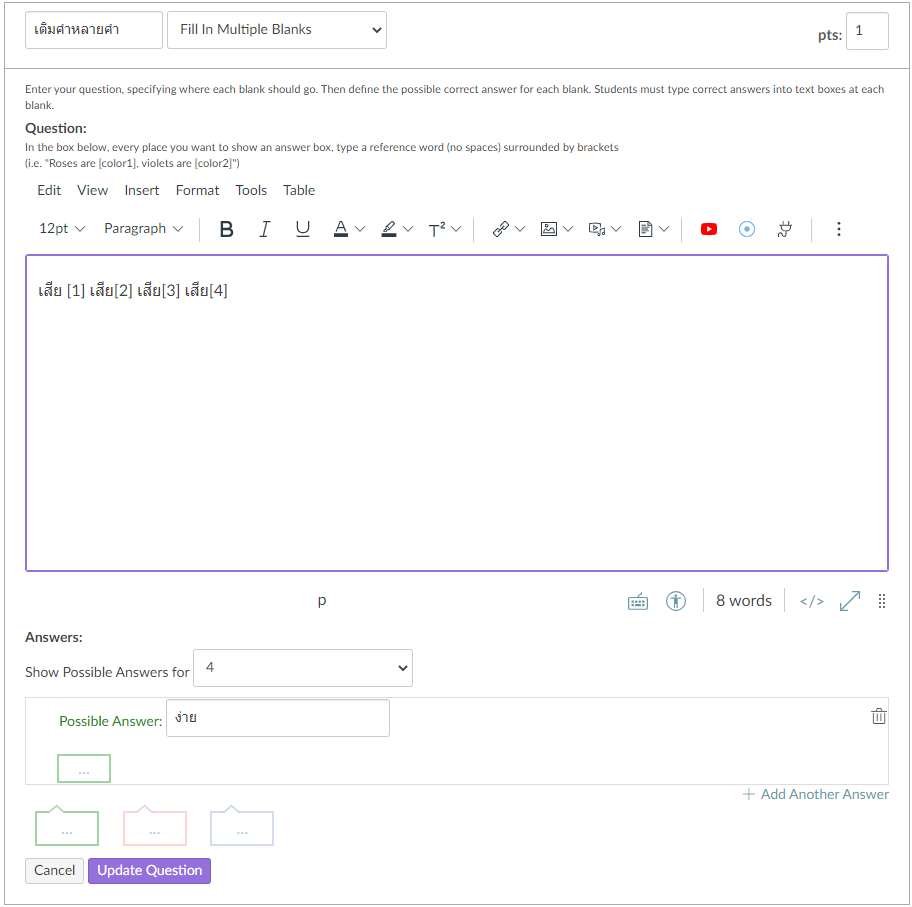
Filling in answers in multiple blank spaces allows students to correctly fill in the blanks. You can specify which part you want the students to fill in by using [ ] and entering the correct answers in each respective position.
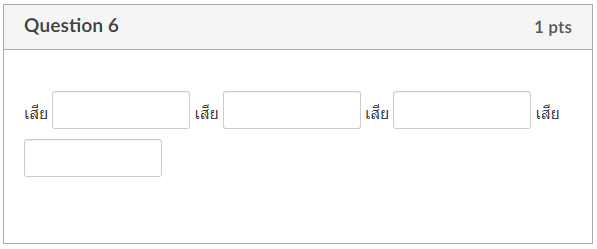
Foe example : "Roses are red, violets are blue". Replace the desired words with symbols [ ] for students to fill in the blank spaces. It will look like this Roses are [1], [2] are blue. When displayed, the content within [ ] will be transformed into blank spaces.
Answer Configuration: Type the answers in the blank spaces below according to the positions created. Number 1: "red", and Number 2: "violets". Example is shown in the image below (Thai).
Creating Fill In Multiple Blanks
The Display Page of Fill In Multiple Blanks เรียบร้อยแล้ว (student's view)
How to create Fill In Multiple Blanks (animated image)
Creating Formula Questions allows for the randomization of variable numbers, ensuring that each student receives different questions and calculates different answers. However, the setup can be quite complex, divided into the question configuration - 1 topic and answer configuration - 3 topics.
In setting up questions, you can specify variables for randomization by using curly brackets and the letter "x" [x].
For example: Direction "Solve y where x = [x]" Equation "5(x) + 12 = y"
Alternatively, you can directly specify variables in the question, such as 5([x]) + 12 = ?.
Variable Definitions or Range of Variables
The variable x that you have specified can be assigned a minimum and maximum value. Once you have set these values, click on "Recompute" to generate a random number for the variable to be used in step 2 of the formula definition process.
Formula Definition
Enter your formula in this section so that the system understands which criteria you want to use for calculation.
For example: The number randomly generated from question 1 is the number 9. When substituting 9 for X, the answer obtained is equal to 57 as shown in the image.
Generate Possible Solutions
In this section, you will specify the number of possible solutions. You can randomly assign variables and their corresponding answers, with a maximum limit of 200 answers. Once you have entered the number, click on "Generate" to allow the system to create the answers according to the details provided below.
From the equation 5([x]) + 12 = y, if x = 7, then 5(7) + 12 = ? The answer will be equal to 47.
The Display Page of Formula Question (student's view)
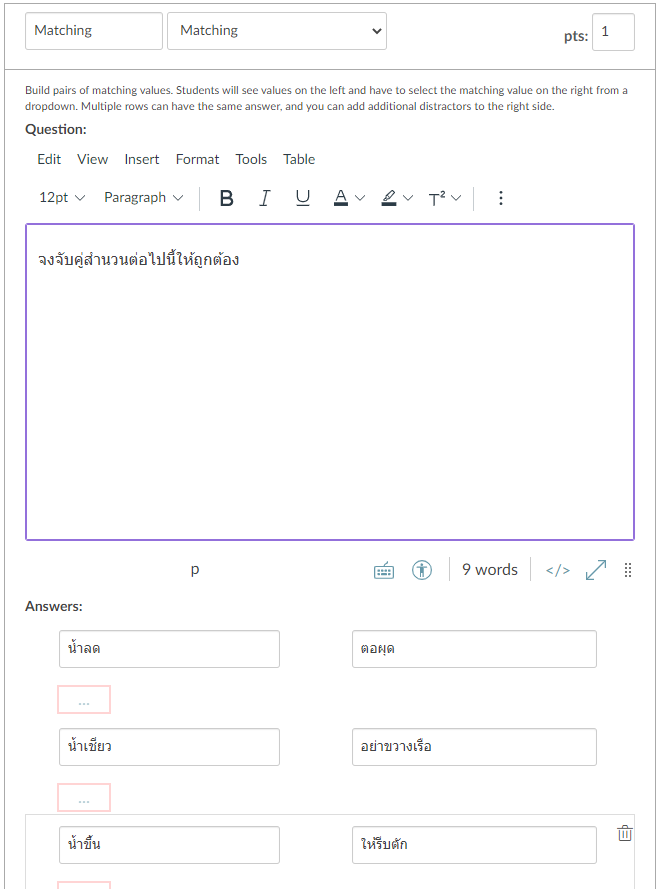
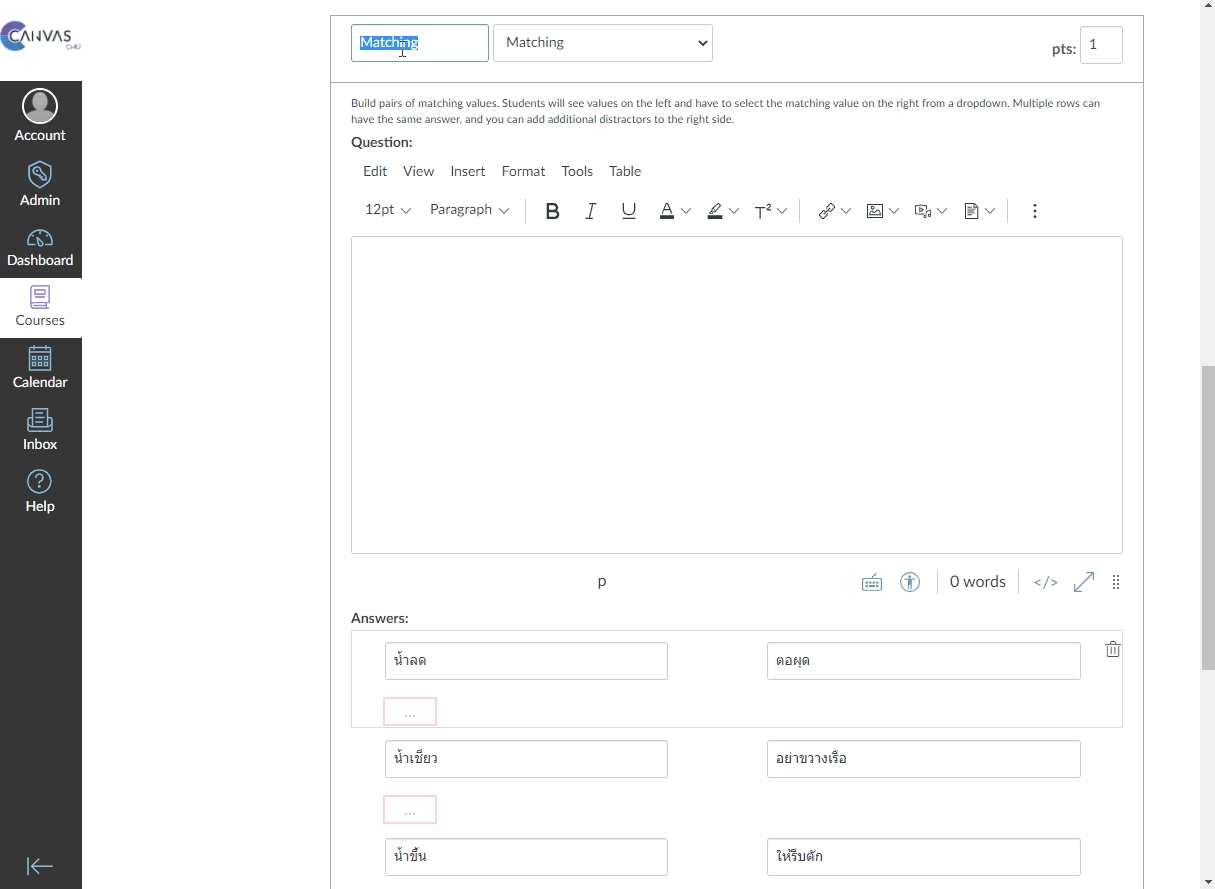
Creating Matching questions or pairing correct answers allows you to create as many question-answer pairs as you want. This method does not include misleading options or options that go beyond the correct answer. Only question-answer pairs that match each other will be included.
Creating Matching
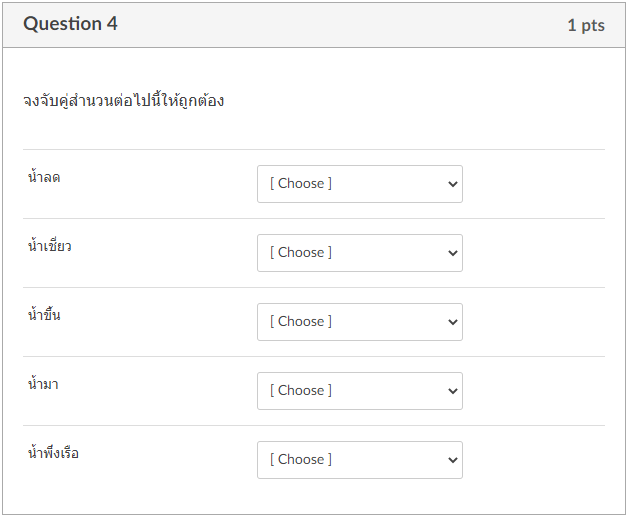
The Display Page of Matching (student's view)
How to Create Matching Quiz (animated image)
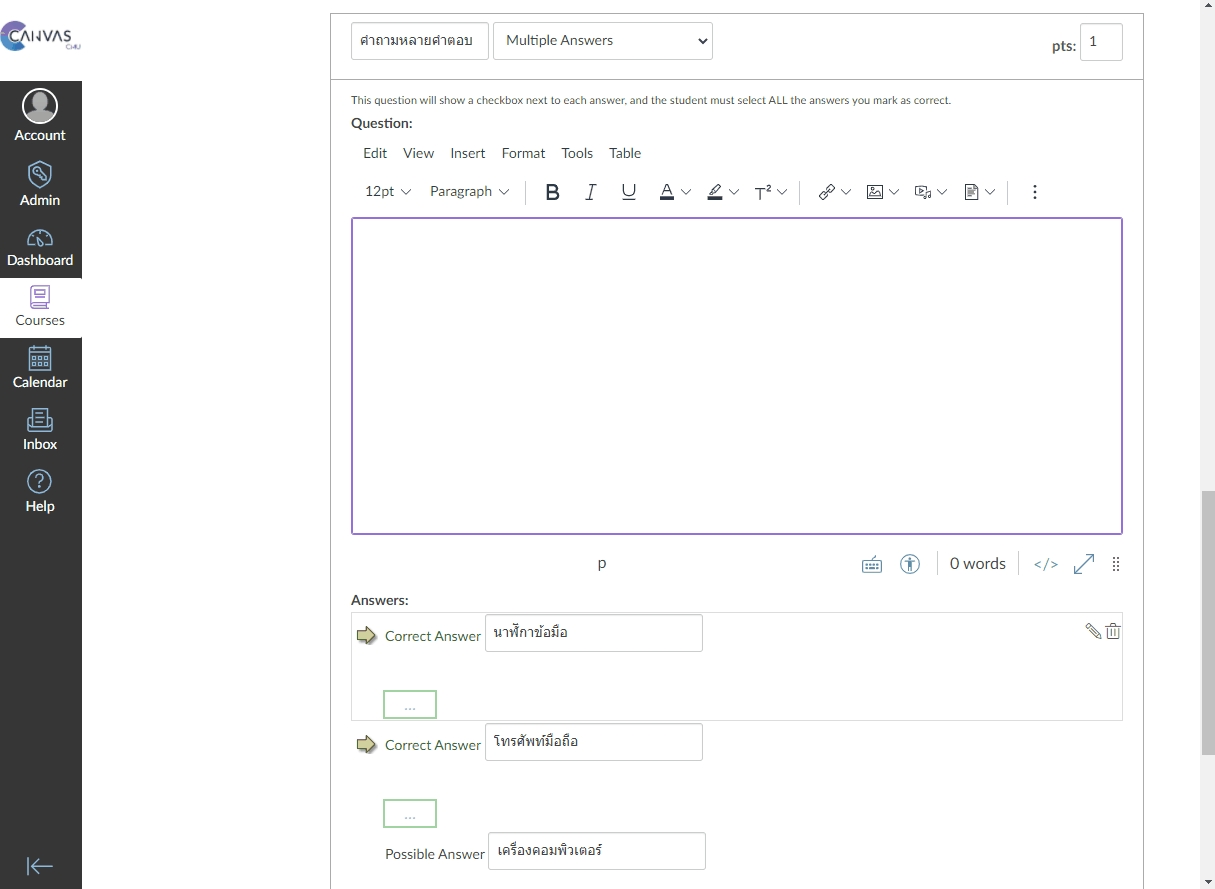
3.7 Multiple Answers
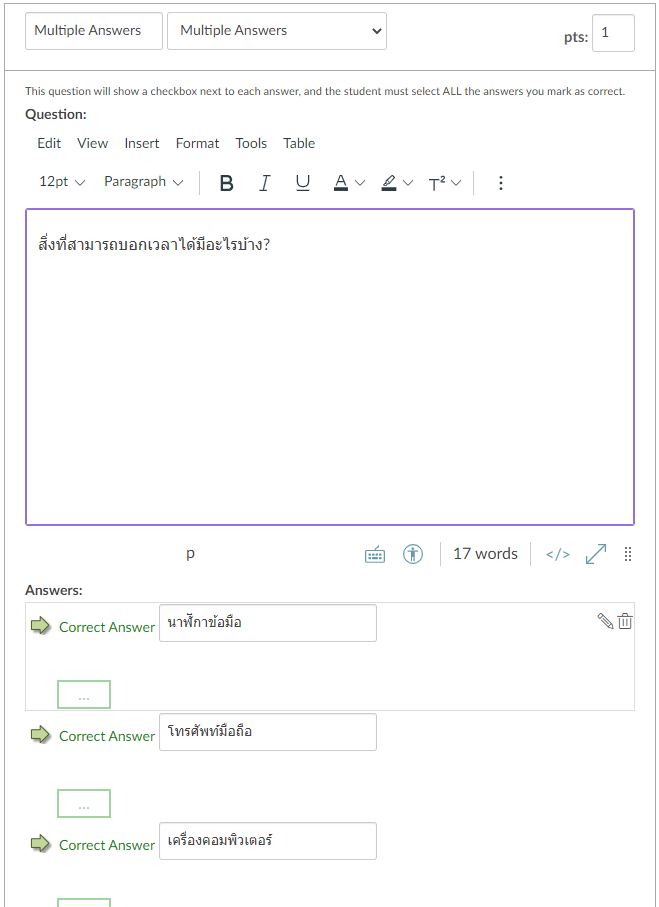
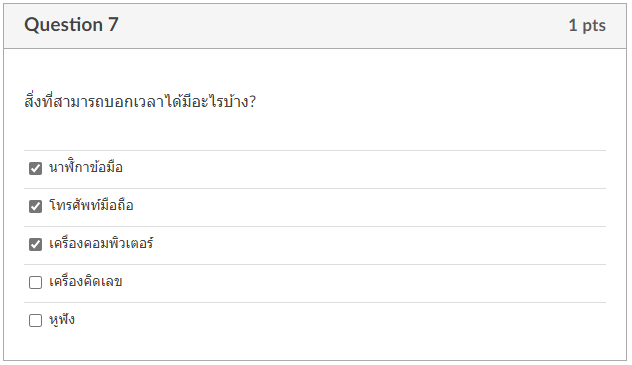
Multiple Answers involves creating a box where you can select multiple options. You have the flexibility to specify the number of correct and incorrect options for each question.
Creating Multiple Answers
The Display Page of Multiple Answers (student's view)
How to Create Multiple Answers (animated image)
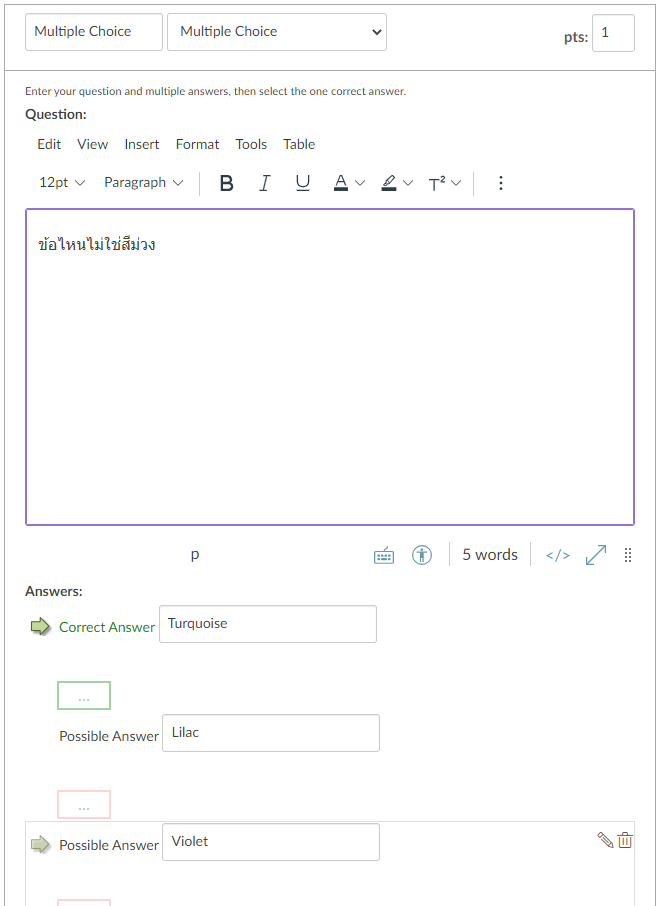
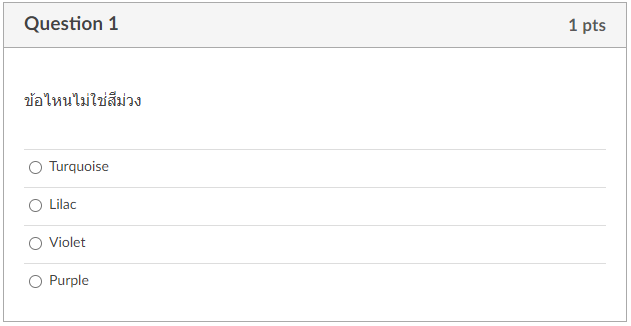
3.8 Multiple Choice
This method is quite popular for creating multiple choice options, but it requires selecting only one correct answer. Additionally, you can provide further explanations about each option in each question.
Creating Multiple Choice
The Display Page of Multiple Choice (student's view)
How to Create Multiple Choice (animated image)
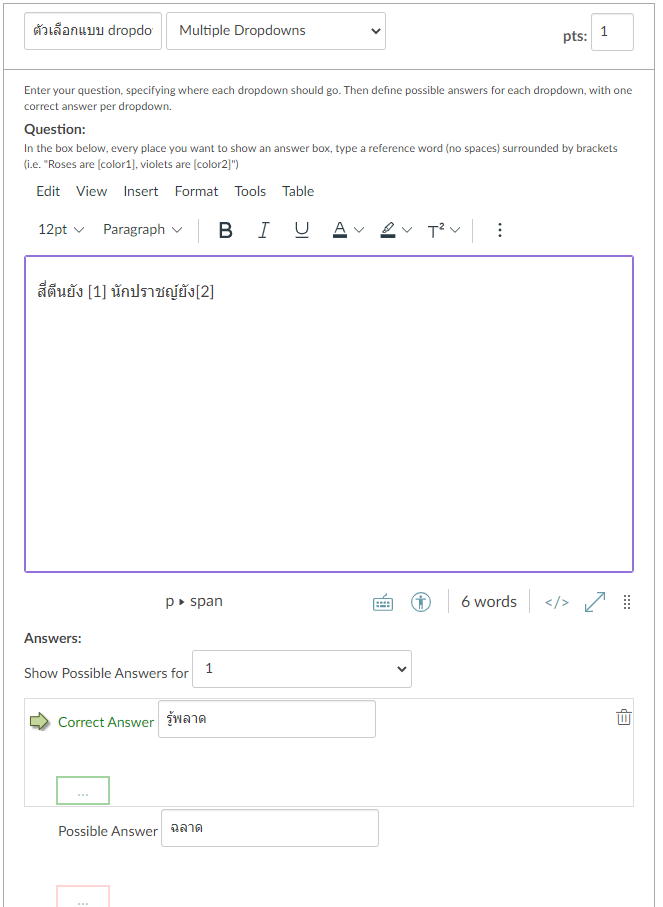
3.9 Multiple Dropdowns
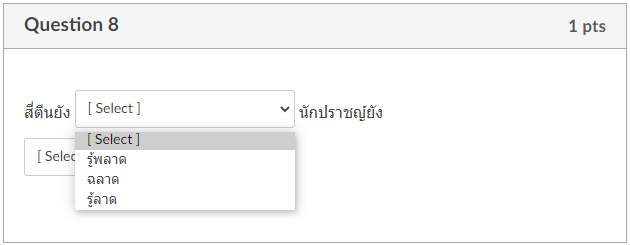
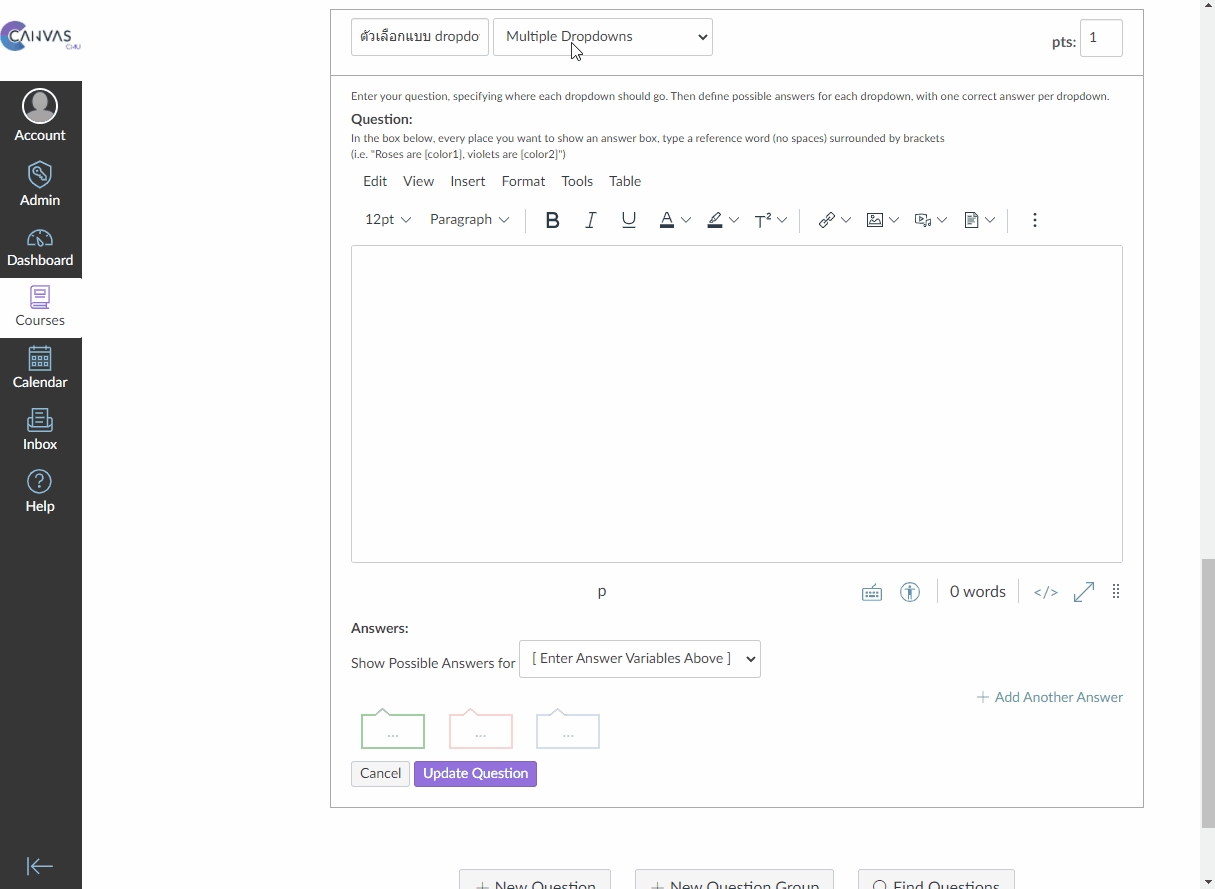
When selecting options from a dropdown menu, this section has a format similar to creating Multiple Choice and Fill In Multiple Blanks questions. The difference lies in the way the answer choices are created.
The Multiple Dropdowns question type allows for the addition of multiple answer options.
Q : "He loves eating pancakes, but she likes eating salad." will be transformed into "He [1] eating pancakes, but she [2] eating salad."
A : Answer number 1 is 'loves'. You can add additional options in the next box. For example, 'love' as option 2, or 'loved' as option 3.
Answer number 2 is "likes' You can add additional options in the next box. For example, "like" as option 2, or 'liked' as option 3.
Creating Multiple Dropdowns
The Display Page of Multiple Dropdowns (student's view)
How to Create Multiple Dropdowns (animated image)
3.10 Numerical Answer
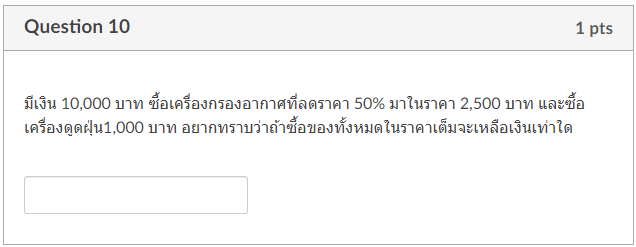
In this section, students will be provided with a text box to answer the question numerically. They can only input numerical values.
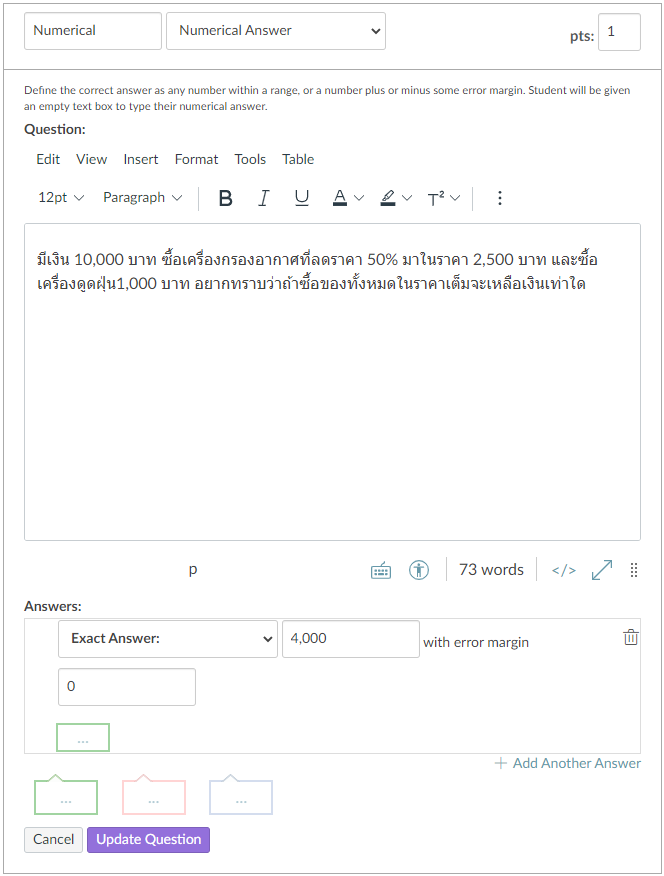
There are three main formats for creating a Numerical Answer question:
Exact Answer : This is the primary answer that is calculated accurately. The precision can be specified by determining the allowable margin of error.
Answer in the Range : The answer falls within a specified range, with values ranging from the first number to the second number.
Answer with Precision : It is recommended to use the primary answer format, which is the Exact Answer.
Creating Numerical Answer
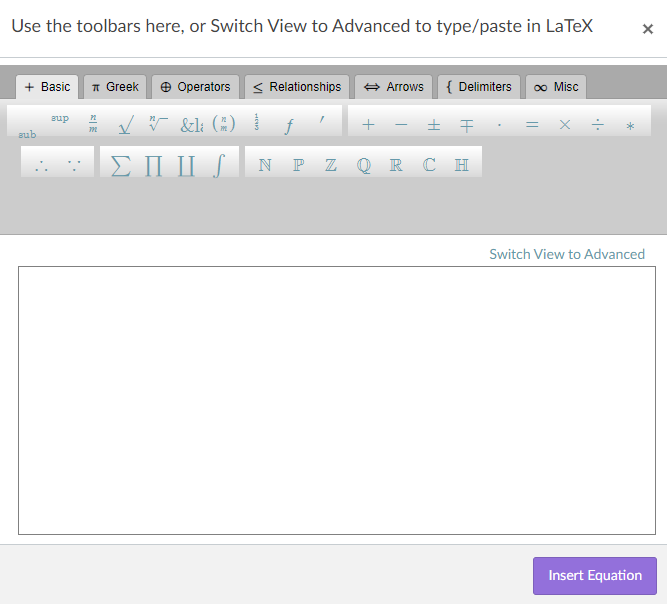
In the section of creating this question, you can attach a picture of a complex equation or add special symbols in mathematics and science. To do this, click on the symbol  (Insert Match Equation), and a window will appear as shown in the image below.
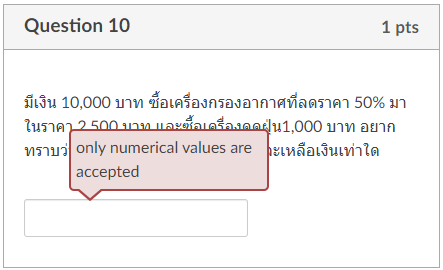
The Display Page of Numerical Answer (student's view)
When responding with letters, the system will display the message "Only numerical values are accepted".
How to Create Numerical Answer (animated image)
3.11 Text (No Question)
In the section of the text (No Question), it is used to display text only. Instructors can use it for the following purposes:
To divide the question and provide explanations or details. For example, the following question will be about calculating with two decimal places.
To notify students. For example, please make sure you have answered all the questions, or starting from this question, each question will be worth 3 points.
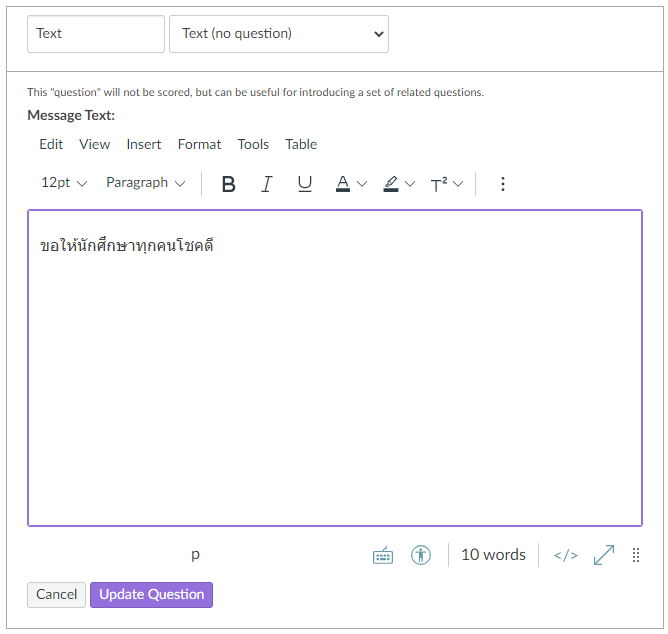
To provide encouragement to students. For example, a message wishing all students good luck in the exam, or attaching an image.
Creating Text (No Question)
The Display Page of Text (No Question) (student's view)
How to Create Text (No Question) (animated image)
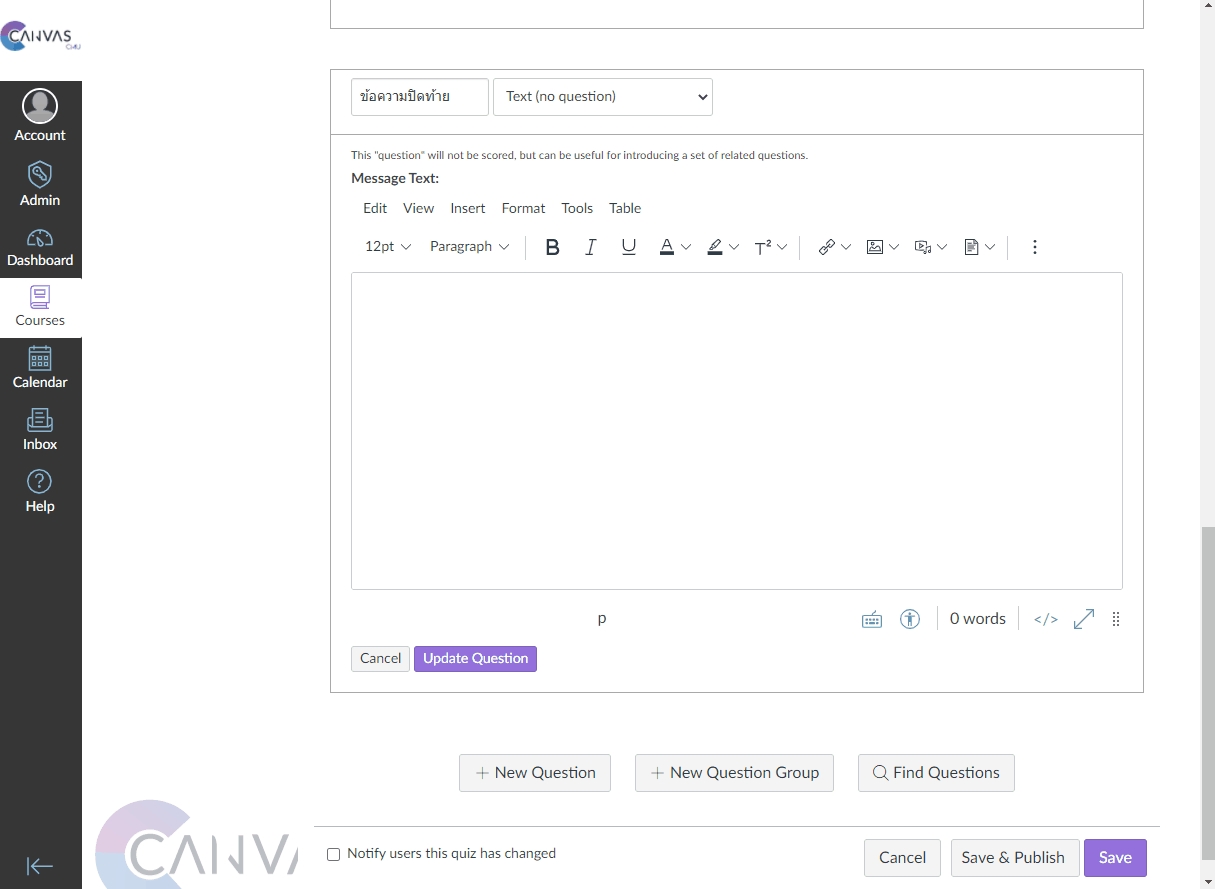
Notification of information to students includes the final closing prayer, or a reminder not to engage in misconduct, or to inform any necessary precautions, such as completing all tasks.
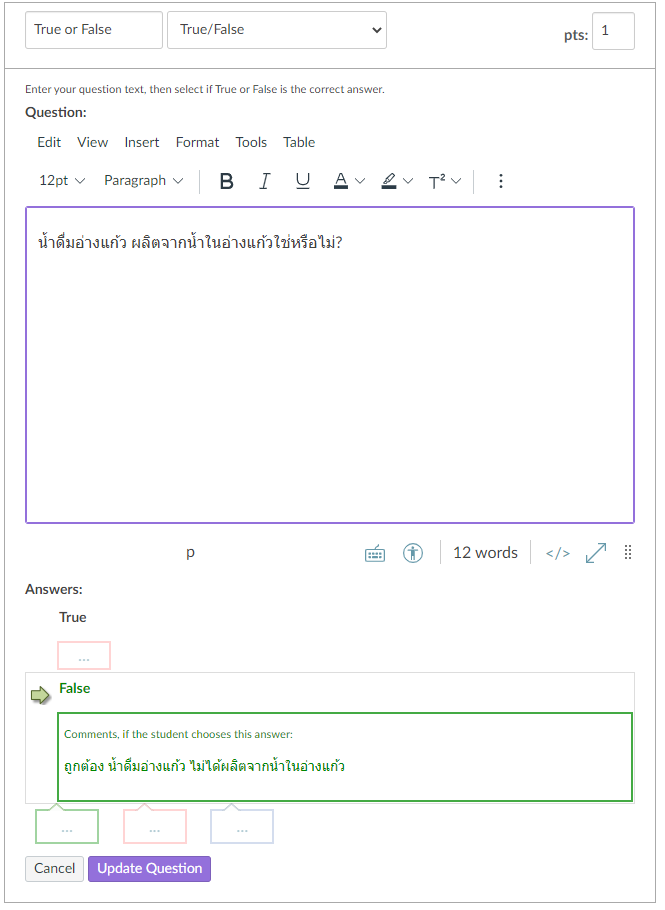
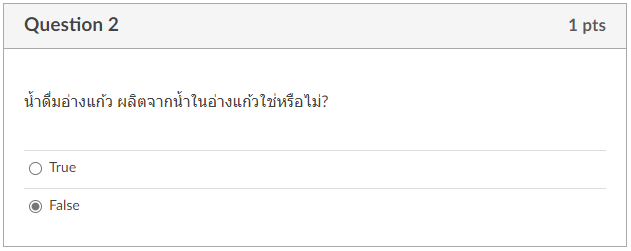
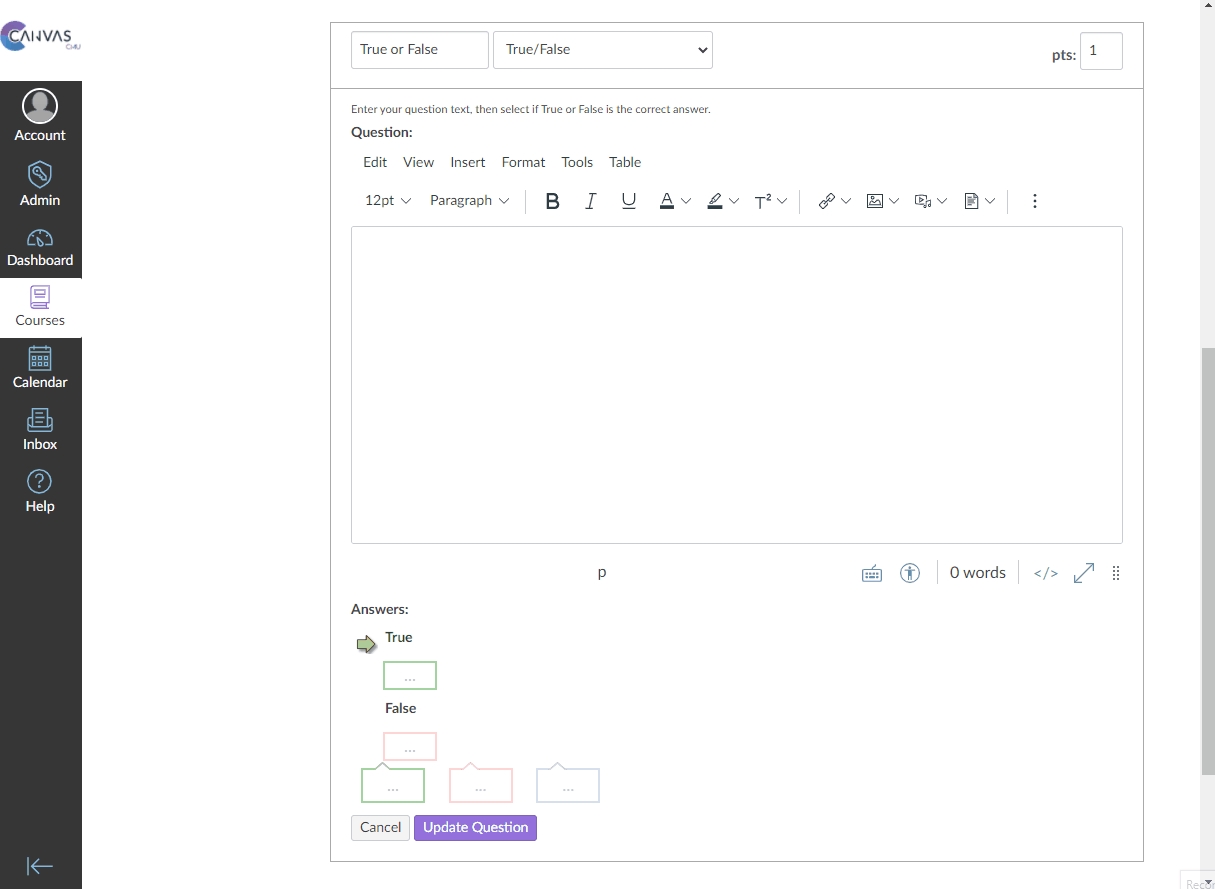
3.12 True/False
This method has only two options to choose from: true or false. You can provide additional information to explain why this question is correct or incorrect.
Creating True/False
The Display Page of True/False (student's view)
How to Create True/False (animated image)
Previewing the Quiz
Options for Previewing the Quiz
You can click on the word "Preview" from 2 positions as shown in the image:
In the gray button area at the top.
In the purple button area at the bottom, in the center of the screen.
Previewing Quiz (animated image)


